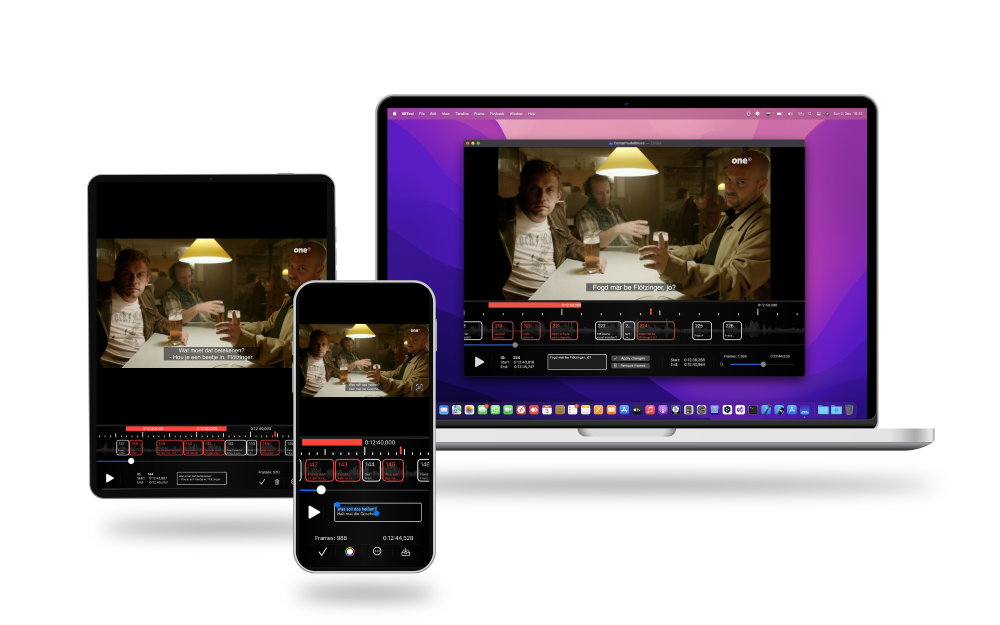

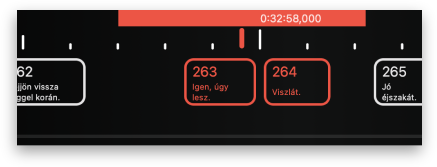
The area over the ruler (2) is the selection bar. Also the time strings of the ruler are located here. If you make a selection, it will be marked with a red rectangle. It's for selecting a specific time range, or for selecting one or more frames - in this case they will be marked red as well. To create a selection, point with the mouse to the desired start or end point, and drag the mouse while you are holding the left mouse key. By releasing the key your selection is done. To clear the selection just click on the selection bar again. You can create large selections too: click on the ruler to set the start point of the selection, and then scroll to the desired end point. Click and hold for a second your mouse button, or your finger on the ruler: your large selection has been created.
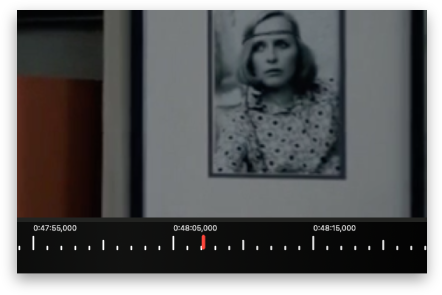
The ruler is scaled by seconds. Every 5 seconds are marked with a mid size line, and every 10 seconds are marked with a big line. In the ruler area a red cursor is marking the current time. If the ruler area has been clicked, the cursor will be set to the location of the mouse click. On a double a new frame will be added, if there is no collision with other frames. The cursor is draggable as well. If also a video file is loaded, and you are using macOS, every cursor action will seek the video to the current time where the cursor is pointig. If the cursor is dragged towards the sides of the window, the subtitle view (3) rolls accordingly into that direction. On iOS you can just swipe the subtitle view to scroll away.

The subtitle view contains the frames. Every single frame can be dragged, which then also changes the timing of the frame respectively. The duration of the frame is also changeable, with an expand or shrink action. A single frame can be selected by a simple click. In this case the cursor will be set automatically over the frame.
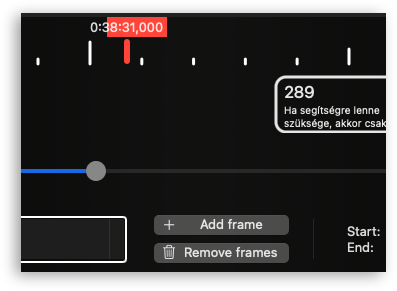
The start time of the subtitle view can be set either with this slider, or with two finger swipe gesture on a TrackPad, or with the mouse wheel.
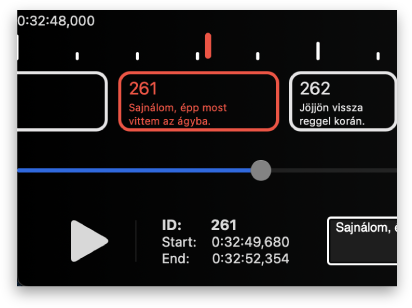

If a video is loaded, it can be started or paused with this button. If a selection has been set and the video is paused, after starting the video again, the current time will be set 1.5 seconds earlier, and it will played from that timestamp. The thought behind it is to let you check if your timing is correct.
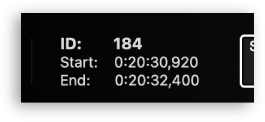
If the cursor is above a frame, its start and end time and its ID will be shown here.
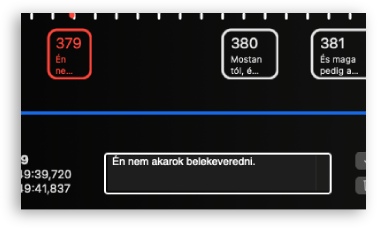
This text field is for editing the displayed text of a frame. If the cursor is arriving above a new frame, the field will automatically set with its content.
There are two methods to create a frame. You can just set the cursor to the desired start point and press Add frame. In this case a frame will be added with a length of 2 seconds. If there is a next frame relative to the new frame, the new frames end time may be shrinked. Please note, if the duration of the new frame would be less than 200 milliseconds it won't be created. The other method to create a frame is to select a range in the selection bar first, and then press the Add frame button. This may be help you create more accurate timings. Please note, if the selection collided with another frame, the new frame won't be created. If you are using iOS, this button looks a bit different. On iOS you have an extra button for importing video files.
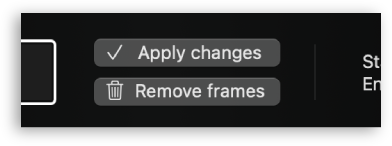
When the cursor is over a frame, the Add Frame button becomes the Apply Changes button. You must click this button each time to apply the changes to the frame's content, otherwise the changes are going to be lost. When a selection in the selection bar is active and the cursor is over a frame, the frame's timing will be changed to the selected area. Please note that the changes will be lost if the selection would collide with another frame.
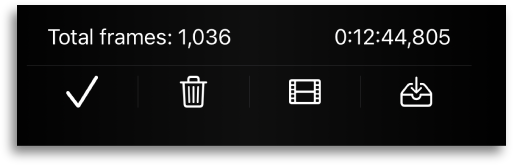
Removes a frame, or a selected range of frames.

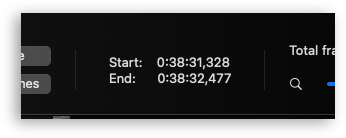
Displays the start and end time of the selection.
Displays the number of the frames.

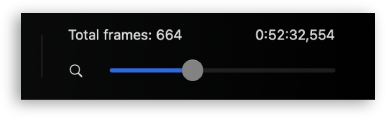
Displays the current time. This is the time that also the cursor represents.
The magnification of the subtitle view can be set with this slider. It's helpful, if more accurate timing is needed. If you are using iOS, just do a zoom in, or zoom out gesture.
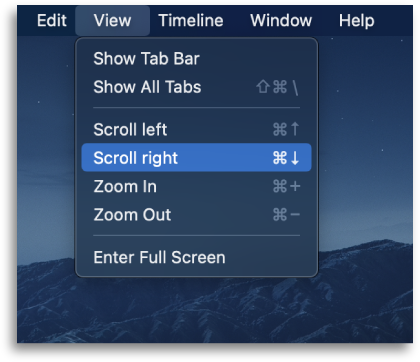
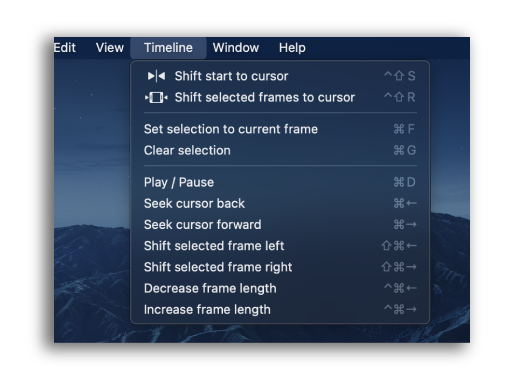
The keyboard commands will help you to edit subtitles faster. Just try them.
And ... here are two more commands you might find cool:
⌘ + E - Add frame or apply changes on the frame
⌘ + R - Remove frame or range